
By Foodie
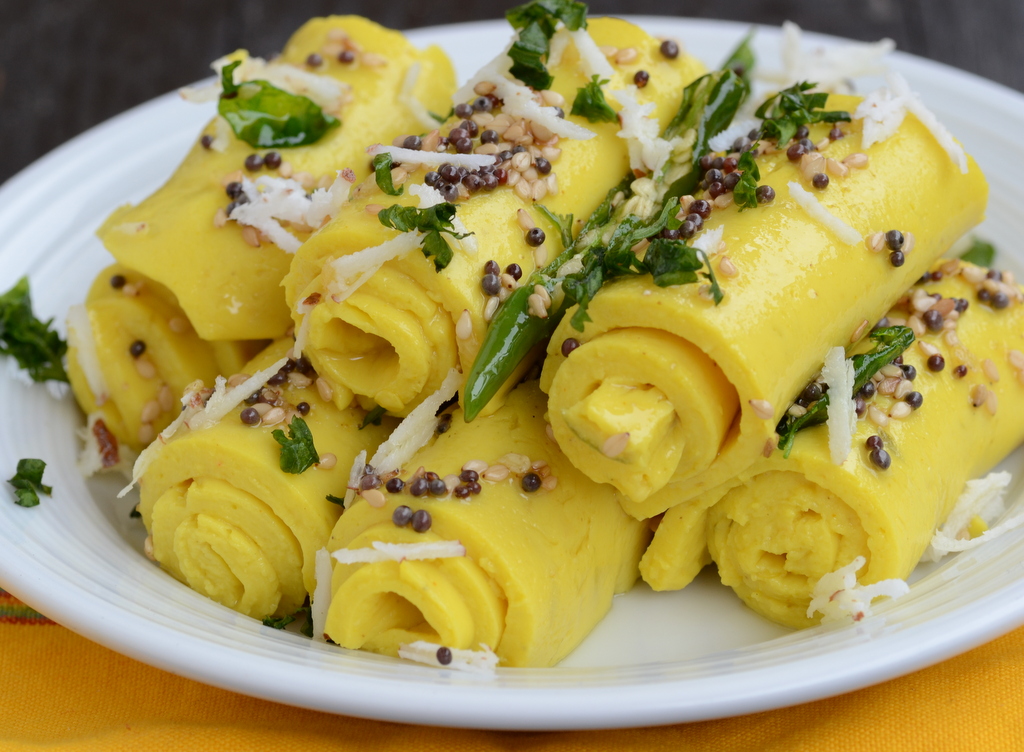
The melt-in-the-mouth Khandvi recipe is a popular Gujarati dish also called Patuli and Suralachi Vadi. This healthy breakfast dish is a delicious snack for the savoury-snack lovers and has a huge fan following in India.
This besan recipe-based Khandvi has many variations. It is usually made using gram flour, though there is also an equally delicious version made from rice flour. This Gujarati dish is an ideal snack and is easy to make for dinners, family events, or a gathering of friends. The rolls are a spicy Gujarati dish and the Khandvi recipe has been passed down through generations.
Khandvi is a fermented, nutritious gram flour cake. It is a healthy snack for people on a diet as it does not cause weight gain. This fermented dish is good for the digestive system as it contains curd, that helps regenerate damaged gut tissue. It also contains B-complex vitamins that are beneficial for your health. Khandvi is thus an excellent breakfast dish that will give you an energy boost to kick start your day.
This dish also contains an abundance of fibre and traces of zinc and phosphorus, making it a healthy snack option for weight-watchers.
Common ingredients
Khandvi ingredients are easily available in the market and are a staple in most Indian kitchens. Khandvi has numerous variations that are as diverse as the Indian people. Its taste is enhanced when served with spicy coconut, mint, or tamarind chutney.
The traditional snack prepared with gram flour and buttermilk and seasoned with sautéed sesame seeds and few other spices is not only easy to make but healthy as well because it just involves steaming gram flour and buttermilk and does not require any other complex cooking techniques. However, you need some basic cooking knowledge to make the khandvi.
Khandvi is made with a mixture of gram flour and buttermilk. In India what we call buttermilk is a thin solution of yogurt and water. Cooking this smooth batter of the gram flour and buttermilk batter is one tricky part. If you get this right, then more than half of your problem is solved.
Curd or yogurt is used as a leavening agent in Khandvi, in the form of the buttermilk. Curd makes an excellent leavening agent. They can make the batter rise and make the dough soft, and voluminous. It works very well to denature the proteins and change their state into softer gel states which would give you a final product that would literally melt in your mouth. The addition of the buttermilk would also make the khandvi moist as well as ensure that the Khandvi doesn’t dry up or harden.
The tricky part here is to add just the right amount of buttermilk. Too much buttermilk would lead to too thin a batter, too less buttermilk, not enough soft gel proteins and not a very spreadable batter. Either way, the batter would be a waste.
The science behind khandvi
Today, we consider the western foods to be great and yummy, and most preferred, but when it comes to the knowledge and science that goes behind the making of the traditional Indian foods, one might just fall for it all over again.
Our grandparents and great grandparents might not have been as educated as we are, but they had way more knowledge and understanding of the foods they cooked everyday than we know of eating every day.
In Maharashtra, this dish is commonly known as suralichi vadi air patuli.
Khandvi is made up of a mixture of besan or roasted Bengal gram flour and buttermilk. Everyone knows that the cooking of this mixture is the most tricky and difficult part of the entire recipe. So here’s why.
The roasted gram flour is rich in its protein content. This is enhanced by the use of buttermilk, which is also high in proteins. When dissolved in water, these protein molecules absorb moisture and swell. The volume increases and the viscosity or the resistance to flow decreases. That’s when we say that the batter is thickening.
While making khandvi, the thickness of the batter is very important. Because if it becomes too thin, it will be difficult to roll, and if it becomes too thin, it will be too difficult to evenly spread on to the flat surface. It will then form undesirable lumps.
Preparation Time: 5 minutes
Cooking Time: 30 minutes
Total Time: 35 minutes
Serves: 3 servings
- Ingredients:
- 1/2 cup Gram Flour (besan/chickpea flour)
- 1 cup Sour Buttermilk
- 1/4 teaspoon Turmeric Powder (haldi)
- Salt
- For Seasoning:
- 1 teaspoon Sesame Seeds
- 1/2 teaspoon Mustard Seeds
- 1/2 teaspoon Cumin Seeds
- 1-2 Green Chillies, seeded and finely chopped
- 10-15 Curry Leaves
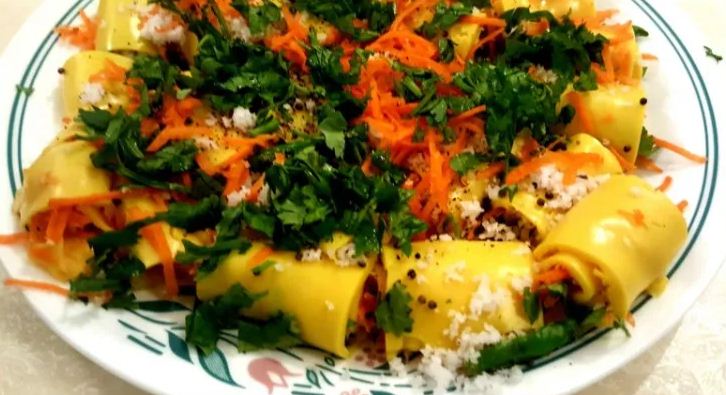
- 2 tablespoons Scraped Coconut
- 4 tablespoons finely chopped Coriander Leaves
- 2 tablespoons + 2 teaspoons Oil
How to make Khandvi Recipe
1. First, prep up all the ingredients required. Take the yogurt in a bowl. You can use dairy or vegan yogurt.
2. Add water and stir well.
3. Add 1 teaspoon ginger-green chili paste, ¼ teaspoon turmeric powder, 1 pinch asafoetida (hing) and ⅔ teaspoon salt or add as required.
4. Add 1 cup gram flour aka besan.
5. With a wired whisk, keep on stirring and mixing till all the lumps are dissolved and you get a smooth batter.
6. Pour this batter in a saucepan or a broad frying pan. Switch on the stovetop and keep the heat to the lowest. Begin to stir.
7. Spread oil on plates or boards or trays. Large steel lids or thalis work very well. You can also use the back of a large baking tray.
A suggestion would be to use your kitchen countertop, if you prefer. Then you just spread the whole cooked batter on it and can spread it in your own pace. A large wooden or metal tray would also be good.
8. Also mix 2 tablespoons of chopped coriander leaves and 2 tablespoons of fresh grated coconut. Keep aside.
9. Keep on stirring when the khandvi batter is getting heated up. Lumps begin to form and you have to continuously stir so that the lumps don’t form.
10. The batter would thicken and keep on thickening. Keep on stirring. Best to use a wooden spatula or a heat proof silicon spatula.
11. Stir and stir and exercise your hands. The batter also should not be allowed to stick at the bottom. So you have to stir continuously.
12. A well thickened batter and looks like we are ready.
13. So just spread a few teaspoons of the batter on a greased lid.
14. Once the spread batter cooled a bit, I tried rolling. As you see the rolls could not be formed. The batter was still pasty, sticky and not properly set.
15. This is the Final consistency of the khandvi batter. It took me 17 minutes to get the correct consistency on a low flame. The timing will vary depending on the intensity of the heat, the thickness/thinness of the pan and the size of the pan.
Notes:
Use the fresh gram flour (not very old) to make the khandvi. If the flour used is not fresh, khandvi will break while rolling.To check gram flour is fresh enough or not, mix 1 teaspoon gram flour with 1 teaspoon water and if the mixture is sticky enough then it is fresh. Old flour has less stickiness compared to fresh one and it tastes a little bit bitter.


